
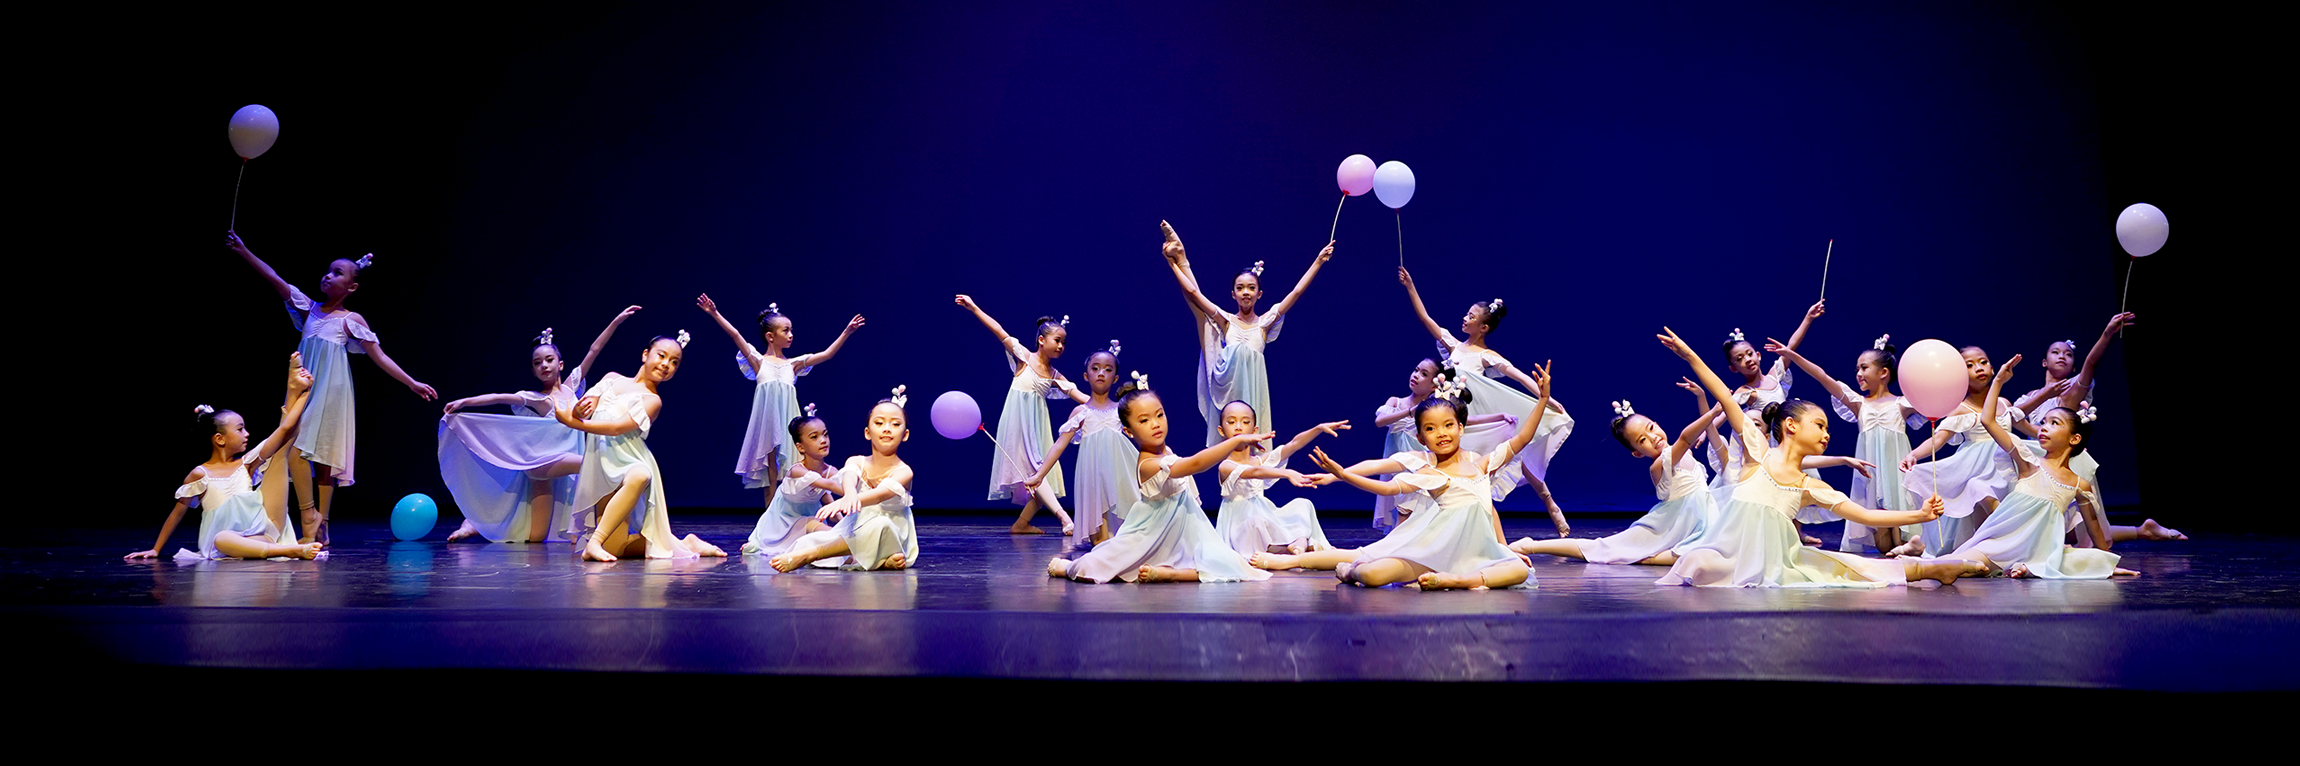
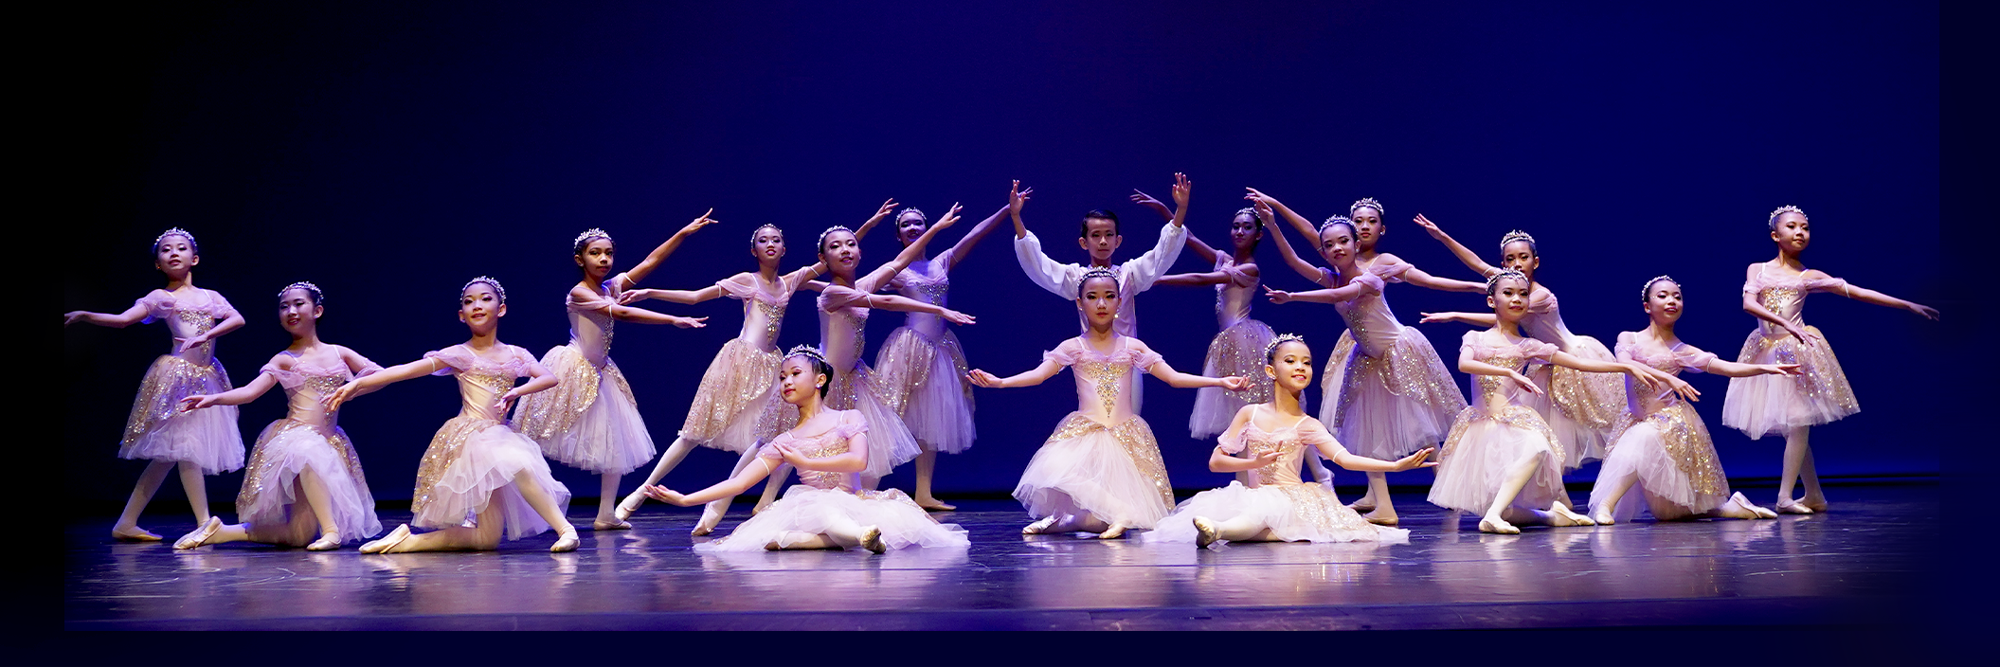
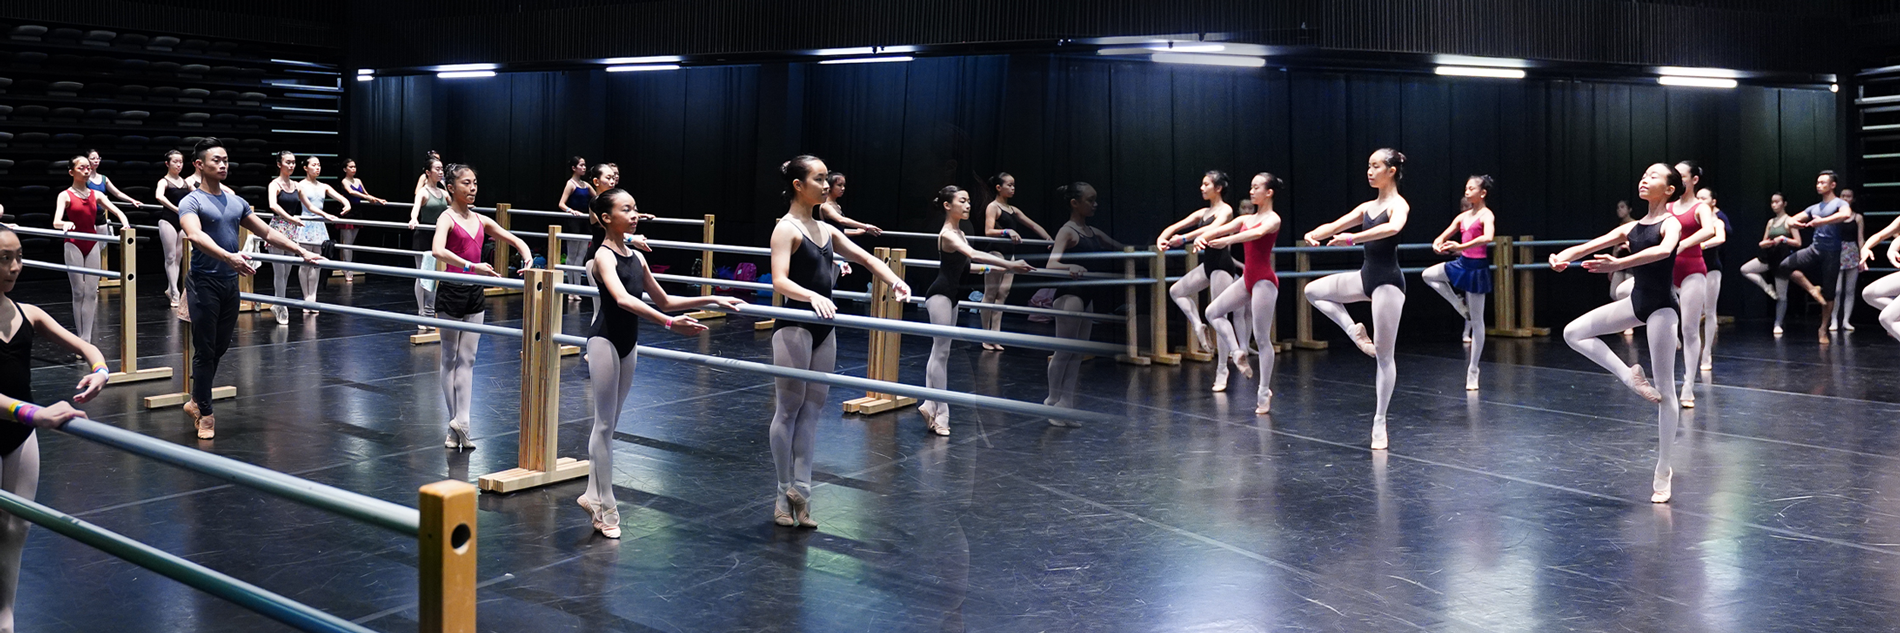
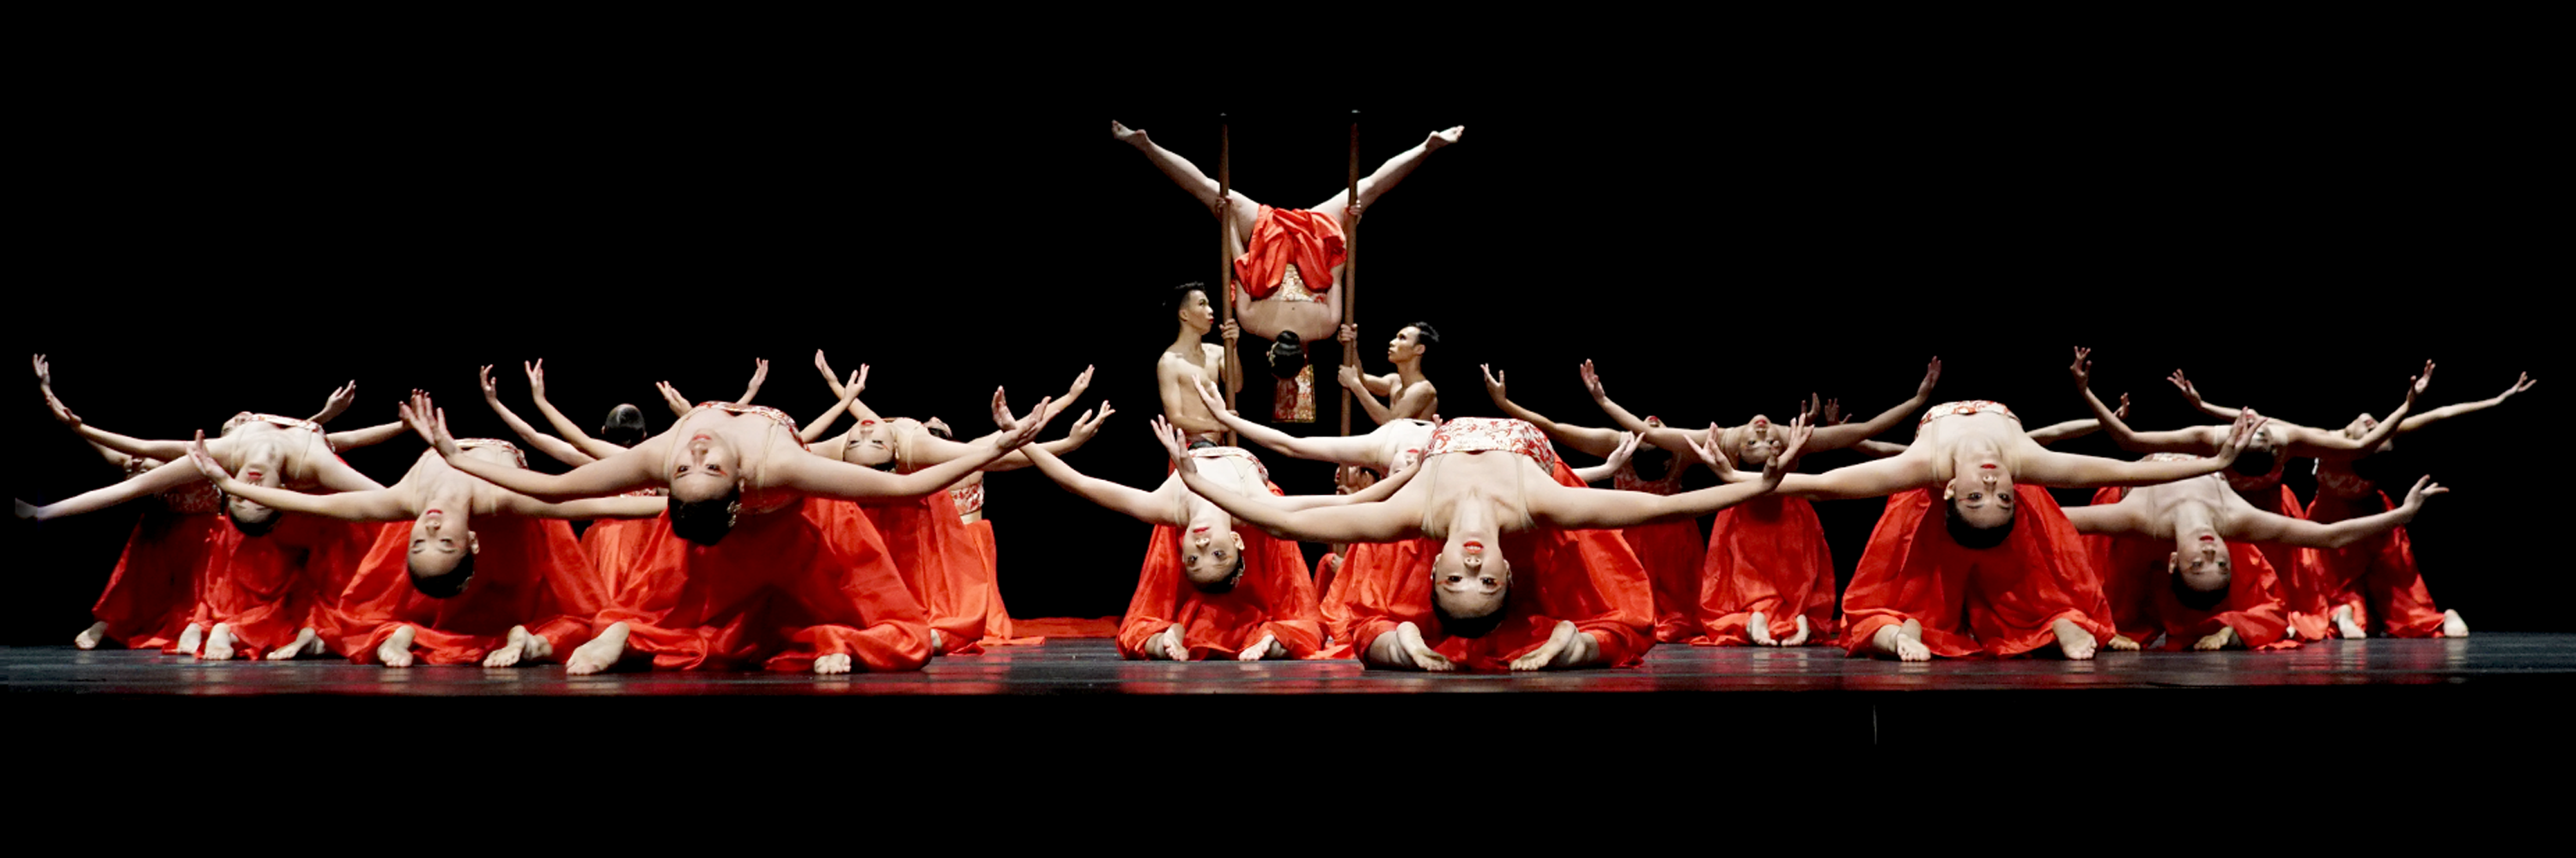
How to Tie A Ballet Bun?
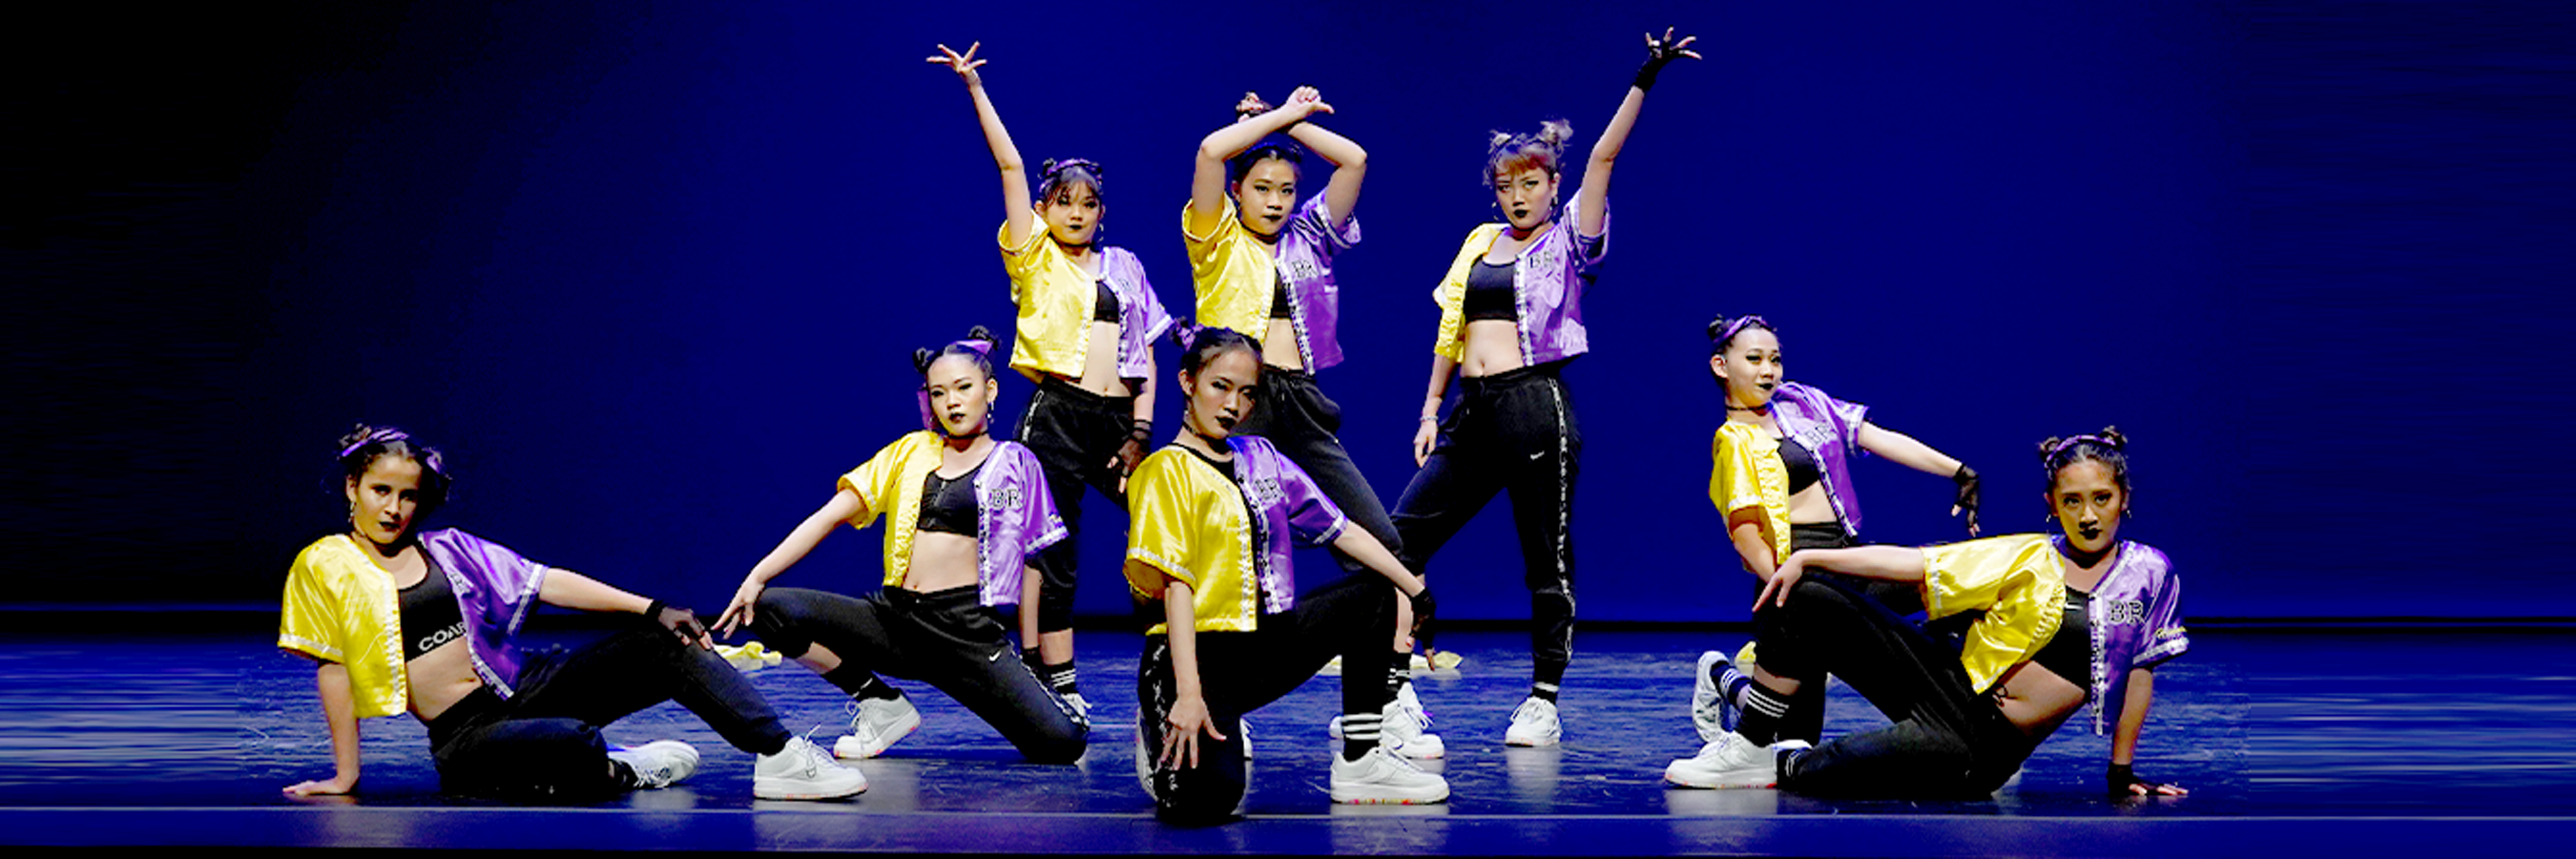
Making a strong, durable ballet bun can be very easy, but it may take a little practice if you’re unfamiliar with it. Go over these steps and try making a bun at home before you use it for class , performance or Ballet examination. A good ballet bun helps the dancers to turn and jump well and also look overall neat and pleasing.
How to Make a Ballet Bun
Materials:
- Spray Bottle or glass filled with water
- Hairspray
- Hair Gel
- “U”-Shaped Pins or Open Pins (these pins are with plastic tips)
- Bobby Pins or Closed Pins
- Elastic band / Hair tie
- Comb & Brush
- Hair Net (fine net with elastic edges, must be the same colour as hair)
Procedure for Long Hair (Shoulder length and longer)
- To start the process, lightly spray your hands and the hair with water (or dampen with a comb dunked in water). This will give you better control over the hair. It is better NOT to have freshly washed hair for this. Gather the hair and pull it back. Apply a little hair gel to the hair. If your child has fringe/bangs, it should be combed up with hair gel and leaving no fringe/bangs covering their forehead.

- Use a hair brush to smooth out rough or uneven areas. Form a pony tail by brushing the hair up from the jawline to the top part of the back of the head. This will form a high bun. The placement of the pony tail determines the placement of the bun. A pony tail just below the crown of the head is good.

3. Use an elastic hair band to secure the pony tail. A tidy pony tail with hair drawn snugly back is the key to making a good ballet bun. **Optional – at this point you could also braid the hair, secure the end with elastic hair band and then coil it into a circle. Either way, you must make a pony tail.

- Apply more water or gel to the pony tail to keep the hair neat, and twist the pony tail.
- Coil the pony tail into a tight circle.


- Use a few “U”-shaped/open hair pins all around the coil to secure it to the rest of the hair. Slide each pin through the outer part of the coil, then into the base of the bun.


- Wrap a fine hair net around the bun. Keep twisting and wrapping so that the hair net tightly secures the bun. Make sure the hair net is same colour as the hair.


- Use a few more hairpins to secure the hairnet over the bun.
- For extra hold, when the bun and hair are all secure, use Use bobby/closed pins to secure any “wispies” or stray hair.


Procedure for Short Hair that will fit into a Short Ponytail
Follow same procedure as for the long hair through step three.
- Braid pony tails as far as possible, then secure end with another covered elastic. Fold end of braid under and press it flat against head. Secure in place with hairpins.
- Use bobby/closed pins to secure any “wispies” and spray hair with hairspray.
Procedure for very Short Hair
- Dampen hair with spray bottle or comb dunked in water and comb a bit of gel through the
- If possible, make a small pony tail low at back of the head.
- As you comb the hair back, secure with bobby/closed pins, then spray hair with hairspray for extra hold.

Procedure for Boy’s Hair
- Dampen hair and comb a bit of gel through the hair, including the fringe/bangs.
- Part hair to one side and comb each side back, securing with bobby/closed pins as needed. Comb hair behind the ears and secure with bobby/closed pins as needed. You don’t need a lot of pins, just enough for the hair to stay OFF the face for the entire class.